

A good merch booth setup comes down to five decisions: where the booth sits, how the table is laid out, how much stock you bring in which sizes, how fast you can take payment, and who does which job. Get those right and the rest is detail. Below is a working plan for bands, brands, teams and event organizers, from the first venue email to the final count.
TL;DR
- Ask for a spot on the natural exit path and check power, lighting, Wi-Fi and venue fees before show day.
- Build a U-shaped or tiered table with your best sellers at eye level, grouped by category, with big, simple signage.
- Plan stock at roughly 10 to 15% of expected attendance as transactions, and lean toward Medium and Large.
- Take cards and cash, use a point-of-sale system that works offline, and aim for checkout in under 90 seconds.
- Give every person a job: setup, selling, restocking, and the final count.
Table of Contents
- Start with the space, not the shirts
- Layout that makes people stop
- Signage and lighting
- Pack a kit that sets up in minutes
- Inventory: how much, which sizes
- Payments that keep the line moving
- Staffing: who does what
- Venue rules and access
- Our perspective
- Make the product match the booth
- A day-of timeline
- FAQ
- Sources
Start with the space, not the shirts
The best display in the world fails in a dark corner behind a pillar. Before you design anything, find out what the space gives you. Arrive early and check security, weather, visibility, power, Wi-Fi, payment needs, cash float and lighting, and bring a tent and paperweights if you are outside, as this concert merch guide recommends.
At a festival or market, learn the layout, the traffic flow and the rules first. Then sketch your booth after checking its dimensions, a step festival vendor tips put ahead of everything else. Ask three things in writing:
- Where exactly is the booth, and is it on the way out?
- What does the venue charge, and does it take a cut? Check the venue agreement for power, merchandise fees and staffing.
- Do I need a permit or a certificate of insurance for general liability coverage? The same festival guide tells vendors to check both.
Where to put the booth
The strongest spot at most events is the path people take when they leave. Practitioners describe it as the moment when attendees move from the emotional high of the show toward the door, and Towerhouse Global frames placement as capturing that post-performance peak, not just a logistics question. If you cannot get the exit path, pick the spot with the clearest sightline and the best light, and keep it away from restrooms, lines and bottlenecks that put buyers in a bad mood.
Measure before you pack
A 10-foot or 8-foot booth is smaller than it sounds. One U.S. craft show vendor guide notes that an 8×8-foot booth is about 7 feet 9 inches square because the pipe frame takes about an inch on each side. Their advice is practical: tape out the booth dimensions in a garage, warehouse or parking lot and arrange your items inside the tape. Do this a week early. You will cut things you thought you needed.

Layout that makes people stop
Browsing should take no effort. A shopper who has to ask what you sell, or who cannot see the price, keeps walking.
Pick a shape
A U-shaped layout puts displays along the sides and back with the open end inviting people in, according to the festival vendor guide. In a booth, it works well because customers step inside and the staff stays at the opening. At a single table, the same idea becomes a tiered front: flat product low, folded stacks on crates, hanging samples behind.
Group, then raise
- Group by category. Tees together, hoodies together, hats and bags together. Towerhouse Global suggests grouping items by category and using crates or risers for height.
- Put best sellers at eye level. Your top item belongs in the primary sightline, per the concert merch guide.
- Leave gaps. Orphiq notes that clutter discourages browsing, so group similar items and leave space between them.
- Hang one of each design. Shirts on the wall or on a rack behind you show the print at full size. Folded stacks sell sizes. Do both.
For apparel retail in general, this wholesale guide for a faith-based apparel brand is a useful look at how a brand presents tees, hoodies and hats so they are easy to browse and buy.
A starting layout for a 6-foot table
| Zone | What goes there | Why |
|---|---|---|
| Back wall or rack | One hanging sample of each design, banner | Visible from a distance |
| Raised middle (crates, risers) | Folded top sellers, size cards | Eye level, easy to scan |
| Front flat | New drop, small items, stickers, prints | Impulse buys at hand height |
| Corner | Card reader, cash box, bags | Keeps checkout out of the display |
| Under the table | Backstock sorted by size | Fast restocking without a trip to the car |
Signage and lighting
Your signs do the first sell. Use readable type, consistent fonts and very little text, and leave empty space so your focal points stand out. The exhibitor merchandising guide from ASD makes the same point about booths in general.
A few rules we like:
- One big sign with your name or logo, readable from across the room. Vinyl banners work, and a sandwich board helps where the venue allows it, as the festival vendor guide notes.
- Prices visible on a single sheet. No guessing, no asking. Round numbers speed up cash and card.
- Size chart and payment icons at the register.
- Light the table. Venues are often dark in the corners, and the concert merch guide recommends lighting plus height so product is visible from about 6 meters away. String lights add mood and help you stand out, and battery clip lights are easy to pack. Backlighting a logo with plain downlights elsewhere creates contrast that pulls the eye, according to Skyline’s booth design guide.
If your banner, tablecloth or backdrop is custom, order it early. We cover custom banners as part of our branding work, so you can match them to your print colors.
Pack a kit that sets up in minutes
You will set up in a hurry, in the dark, often alone. Build a kit that fits that reality. The goal from Towerhouse Global is a kit that fits in one crate and a bag and packs down in about five minutes. CD Unity adds that it should be carryable in two trips.
A checklist that covers most events:
- Table covering, clips, tape and zip ties
- Crates or risers, hangers, a small rack or wall grid
- Signs, price sheet, size chart
- Card reader, charger, power strip, backup battery, and a hotspot in case Wi-Fi fails
- Cash box with change, a calculator, pen and notebook
- Bags, tissue or stickers for packing
- Tent, weights and tarps if you are outdoors
- Lint roller and a small steamer or iron to keep stock crisp
Paperweights and a tent are not optional outdoors. A gust can clear a table in seconds.
Inventory: how much, which sizes
Overbuying ties up cash, and underbuying leaves money on the table. The concert merch guide suggests estimating transactions at 10 to 15% of expected attendance. Treat that as a starting estimate, then adjust for your own history: a band with a loyal following and a new release will beat it, a first-time seller at a big festival may not reach it.
For sizes, Medium and Large usually carry the most volume, and the same source puts them at about 60 to 70% of the total. Keep the small and extra-large ends thinner but present, because a missing size is a lost sale. We break down the math in our guides on how many of each size to order and event merch quantities.

Count before and after
Count every piece before the show and again after. That is the only way to know what you sold, what was lost and what to reorder. Inventory discipline is the same whether you sell at shows or online, and this inventory best-practices article covers the habits of counting, tracking and reconciling stock that carry over to a post-show count.
Pricing
Price so the numbers work after printing, venue cuts and payment fees. Our benchmarks on merch profit margins and print runs and pricing custom apparel for resale walk through it. Remember that if the venue takes a share, your margin is what is left after that cut. Settlement splits in the industry are commonly negotiated at 80/20 or 90/10 for different product types, according to the Event and Artist Merchandise Guide, so ask before you price.
Payments that keep the line moving
Take both cash and cards. Use a point-of-sale system that can run offline, as the concert merch guide advises. Know the limits of offline mode: on Square, offline payments are processed when the device reconnects and are declined if it does not reconnect within 24 hours of the first offline payment, as described in Square’s Coachella case study. Test your reader in the venue before doors open.
Speed matters. Orphiq recommends targeting under 90 seconds per transaction and notes that cashless-only setups may cut processing time by 30 to 40% compared with handling cash. Whether to go cashless is the venue’s and your call, but a handheld reader lets one person sell from anywhere in the booth. Square’s own account of roaming sales says mobile POS removes the need to stay tied to a fixed counter and increases interaction time.
Some tips that save seconds:
- Round prices to whole dollars or include tax in the price.
- Pre-bag popular sizes.
- Put the card reader where a second person can reach it.
- Keep a printed backup price list and a written sales log in case your phone dies.
Staffing: who does what
Two people can run most tables, but only if roles are clear. The Sonic Education merchandising guide points to responsibilities for setup and inventory counts, restocking, and settling sales and expenses, and to confirming figures with the venue representative and sharing settlement sheets with stakeholders.
A simple split:
| Role | Before | During | After |
|---|---|---|---|
| Lead | Confirms venue terms, counts stock | Handles problems, stays at the booth | Reconciles sales against count, signs settlement |
| Seller | Helps set up the display | Greets, sells, takes payment | Packs down |
| Runner | Moves stock to the booth | Restocks sizes, refills change | Loads the car |
Be at the booth before and after the show, when foot traffic peaks. For volunteer-run events, some agreements are specific: the Go Fish concert agreement calls for four adult volunteers per product area, instructed before the event and available for teardown, per the event merchandise guide.
Venue rules and access
Rules vary by building, so ask early. Some examples from real venue documents:
- A Dallas venue’s tech pack says security staffing is often set by the confirmed offer, and additional security usually needs at least 72 hours of notice, per the AMFM tech pack.
- Century II in Wichita asks organizers to coordinate possible staffing no later than ten business days before the first leased date, in its facility policy guidelines.
- Under the Go Fish agreement, the purchaser provides four product tables and Wi-Fi information, and the artist brings the change fund and credit card machines, according to the 2025 agreement.
Accessibility
If you organize the event, confirm which accessibility requirements apply. The Department of Justice’s ADA guide for small towns covers accessible routes, including through parking lots and entrances, and a DOJ settlement with New Orleans Jazz Fest required the festival to monitor craft booths for accessible routes and sales counters. Practically, leave a clear path wide enough for a wheelchair in front of your table and keep a section of the counter low enough to use, then ask your venue contact what applies. For legal questions about a specific event, speak to an attorney familiar with ADA compliance.
Our perspective
Most booth problems we see start long before setup day. They start with product that was ordered too late, in the wrong sizes, or printed in a way that does not read from five feet away.
We print everything in Los Angeles, with no minimums on blanks, so a brand can test a small run, see what sells at the first show, and reorder the winners. Same-day or next-day options exist for urgent jobs, which matters when a show gets added to the calendar. Pick the print method for the design, not the other way around: DTG for detailed artwork in small runs, screen printing when you need volume of simple designs, DTF for flexible placement, and embroidery for hats and a more premium feel.
Sell from a display that shows one sample of each design, add a woven label or custom tag so the piece feels like a brand and not a blank, and keep your signage as simple as your best shirt. If you want customers to watch their shirt being made, live printing turns your booth into the event.
Christian
Make the product match the booth
The table is only as good as what is on it. Our live printing experience puts a press at your event, so shoppers pick a design and walk away with a freshly printed piece. Our guide on live printing versus preprinted apparel helps you choose, and the fast-turnaround event merch guide shows how to plan the timeline backward from the show date.
We print custom apparel, accessories and promotional items for independent brands, designers, event organizers, teams and corporate marketers, with no minimum order on blanks. You can see methods and pricing on our DTG pricing, DTF, embroidery pricing and silkscreen pricing pages, or start from tektonla.com.
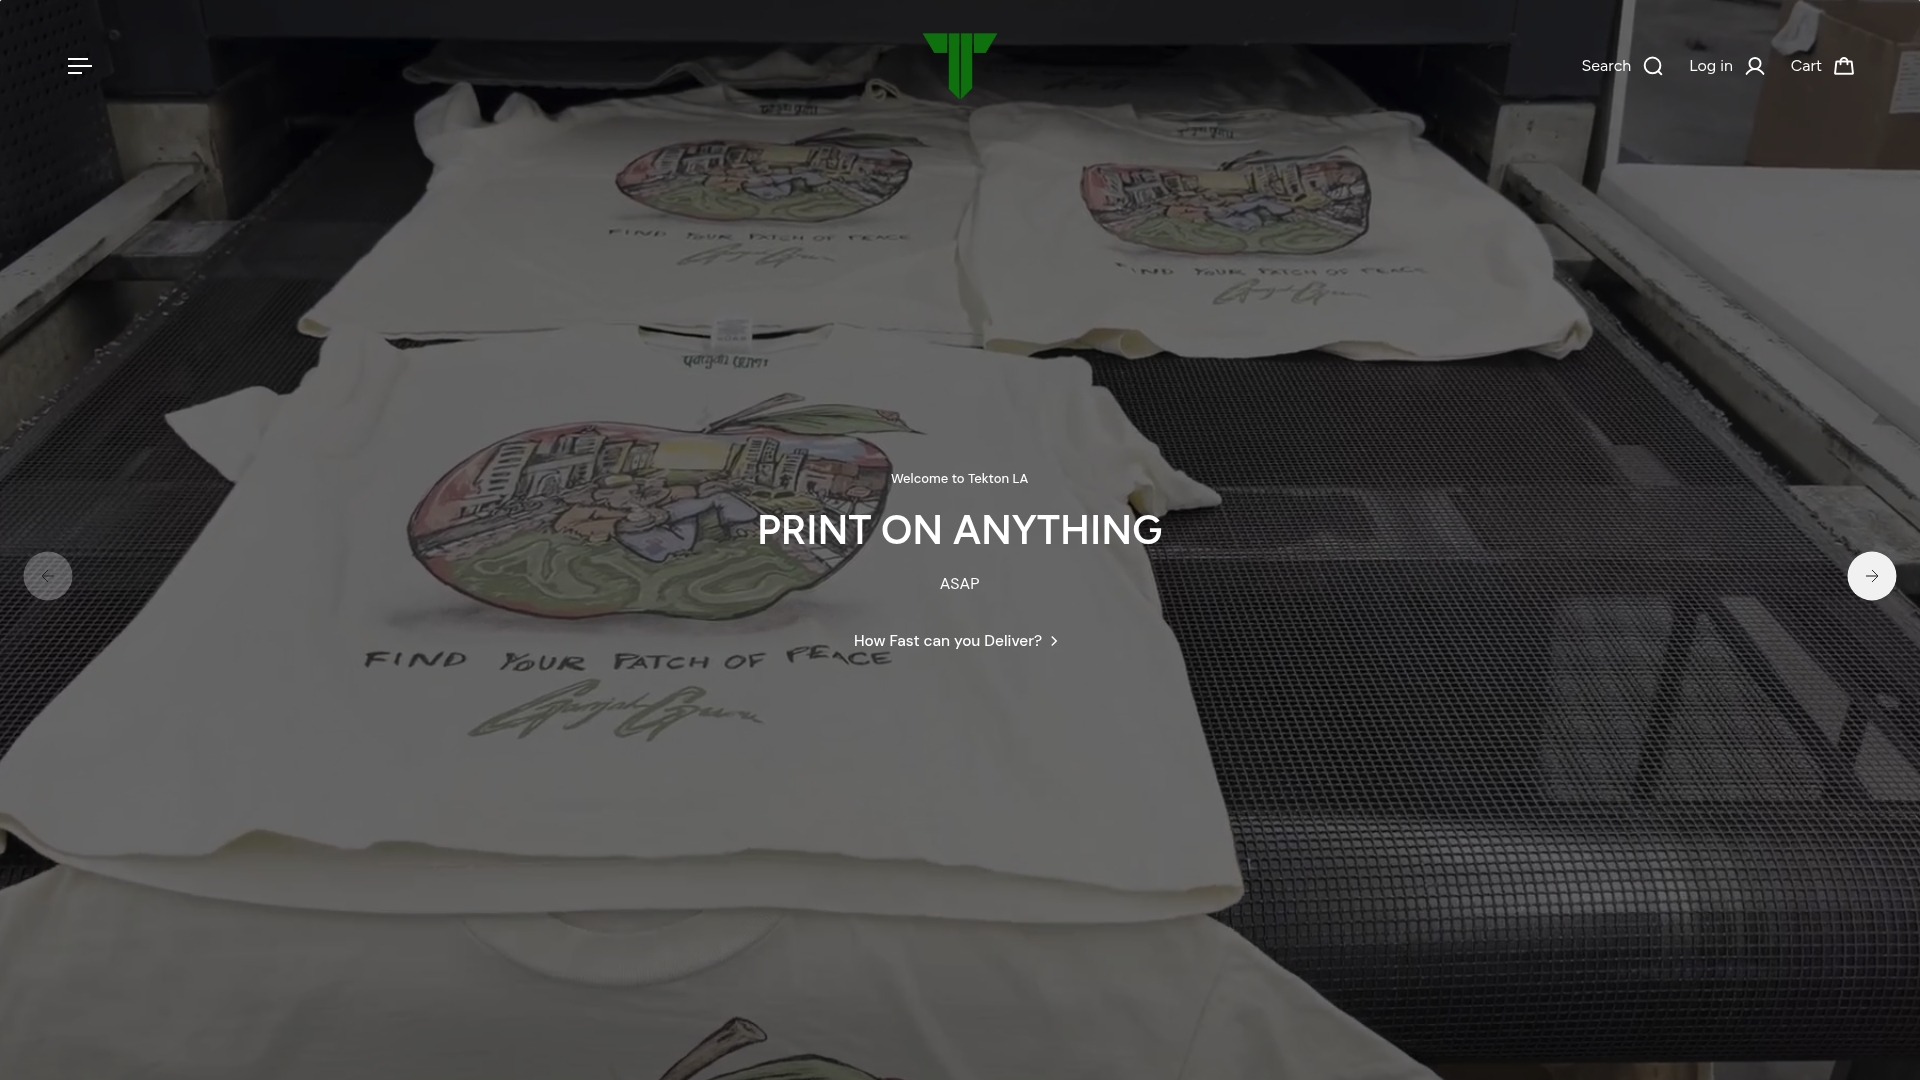
If you sell team or fan gear, our team merch ideas cover what to put in the lineup, and our trade show swag ideas cover giveaways that travel well. For festival organizers, see why custom tees work at festivals.
A day-of timeline
- Arrive early. Walk the space, find power and your spot, and check light.
- Set the frame. Table, covering, backdrop, banner, weights.
- Build the display. Crates and risers first, then top sellers at eye level, then hanging samples.
- Set up checkout. Reader, cash box, test a payment, connect the hotspot if needed.
- Do the opening count. Record every piece by size.
- Sell, tidy, restock. Straighten the table between rushes, and refill sizes from under the table.
- Count again and settle. Reconcile sales to inventory, sign off with the venue contact and share the sheet.
FAQ
How much space do I need for a merch booth?
A six-foot table works for a band or small brand, and a 10×10 booth gives room for a rack and a U-shaped layout. Remember that frames take up some space, since an 8×8 booth measures closer to 7 feet 9 inches inside. Tape out the footprint ahead of time and arrange your items in it.
What sells best at a merch booth?
Tees usually carry the volume, with Medium and Large as the core sizes. Put the top-selling design at eye level and add a few lower-priced items such as stickers or prints for impulse buys. After each show, use your before-and-after counts to see what to reorder.
Do I need a card reader, or can I sell cash only?
Take both if you can. Card readers speed up sales and capture buyers without cash, but bring a cash box with change in case of connection issues. Pick a system with offline mode and test it at the venue.
How many people do I need to staff a merch table?
Two is a sensible minimum: one to sell and one to restock and handle checkout. For big crowds, add a lead who handles counts and settlement. Assign the roles before the event, not during the rush.
When should I order merch for an event?
Order early enough to count and sort the stock before the show. For tight timelines, ask your printer about rush options and confirm turnaround in writing. Our fast-turnaround guide helps you work backward from the event date.
Sources
- How to Sell Merch at Concerts
- 23 Festival Vending Tips Every Merchant Should Follow
- Event Merchandising Strategies in the Digital Age
- How To Set Up A Merch Table That Actually Pulls People In
- Selling Merch at Shows: Maximizing Your Table
- How to Merchandise Your Booth to Get Traffic
- Better Branding and Booth Design
- CRAFTER Vendor Guide
- The Beginner’s Guide to Tour Merchandising
- Event and Artist Merchandise Guide
- Square: Wild West Social House at Coachella
- AMFM Dallas tech pack
- Century II facility policy guidelines
- 2025 Go Fish Concert Agreement
- DOJ ADA Guide for Small Towns
- DOJ settlement agreement with New Orleans Jazz Fest