


Pick the right banner size by matching it to your viewing distance and mounting method. For most physical applications, a a versatile standard size banner is the most versatile standard size on the market — it fits storefronts, trade-show backwalls, and hallway displays without requiring custom hardware. On the digital side, the 300×250 medium rectangle accounts for roughly 40% of Google Display Network placements and is the single unit you should design first when running display ads.
The one-line rule: measure your installation width and visible height, then choose the largest standard size that fits, with at least 2–3 inches of clearance on each edge.
Before you order, run through these four steps:
- Measure the opening. Record width, visible height, and any obstructions (door frames, windows, ceiling fixtures).
- Pick orientation. Wide pedestrian aisles and building exteriors call for horizontal; trade-show booths and point-of-sale displays work better with vertical.
- Select material and hardware. Match vinyl, mesh, or fabric to your environment, then confirm grommets, pole pockets, or hem type.
- Prepare a print-ready file. Supply CMYK artwork at final print dimensions with at least 0.5 in of bleed and all fonts outlined.
Pro Tip: Photograph the installation space from the viewer’s perspective before you order. A photo with a tape measure in frame gives your printer everything needed to flag a sizing problem before production starts.
Key Takeaways
Matching banner size to viewing distance and mounting method is the single decision that determines whether a banner reads or gets ignored.
| Point | Details |
|---|---|
| Start with measurements | Measure installation width and visible height first; subtract 2–3 in of clearance before selecting a size. |
| 3’×6’ is the versatile default | A 36×72 in vinyl banner fits storefronts, hallways, and trade-show backwalls with standard grommet hardware. |
| File specs prevent delays | Submit CMYK artwork at 100–150 DPI at final size, with 0.5–1 in bleed and all fonts outlined. |
| Match material to environment | Use mesh vinyl for outdoor fence installations; fabric for indoor trade-show displays; scrim vinyl for general outdoor use. |
| Tektonla handles fast turnarounds | Tektonla produces custom banners in Downtown Los Angeles with same-day proofing and no minimum order on most items. |
Table of Contents
- What are the standard physical banner sizes and when should you use each?
- How do you pick the right banner size for your space?
- What banner type should you order for each situation?
- What materials, finishes, and hardware do you need?
- What file specs does your printer need?
- What do U.S. banner production timelines and costs look like?
- How do you measure and prepare for installation?
- What Tekton LA has learned from production that saves you rework
- Fast custom banners and event branding from Tekton LA
- Sources
What are the standard physical banner sizes and when should you use each?
The table below maps the most common U.S. banner sizes to their typical use cases, recommended viewing distances, and hardware notes. Sizes follow the Signs.com standard banner reference and common large-format industry practice.
Order tip: For outdoor vinyl banners, always specify reinforced corner grommets and a double-stitched hem. For fence installations, request mesh material and wind slits to reduce wind load.
How do you pick the right banner size for your space?
Sizing a banner is mostly a measurement problem, not a design problem. Get the numbers right first, then hand them to your designer.
Step-by-step measurement process
- Measure the visible opening. Use a tape measure to record the full width and the visible height of the installation area. Note any obstructions: light fixtures, door frames, window sills, or ceiling drops.
- Subtract clearance. Deduct at least 2–3 inches from each edge. A banner that fills the opening edge-to-edge has no room for grommet attachment or hardware.
- Estimate viewing distance. Stand where your audience will actually be — at the entrance, across the aisle, or at the curb. That distance drives font size and text density more than anything else.
- Decide orientation. Wide horizontal spaces (storefronts, fences, building exteriors) suit landscape banners. Narrow vertical spaces (booth side walls, pole mounts, retractable stands) suit portrait orientation.
- Check local regulations. Some municipalities and venues restrict banner dimensions, placement height, or the number of days a banner can stay up. Confirm before you order.
- Confirm mounting method. Grommets need anchor points. Pole pockets need a pole diameter spec. Tension fabric frames need a specific finished size that accounts for the frame’s border.
On-site measurement checklist
Bring these to the site before ordering:
- 25-ft tape measure
- Notepad with a rough sketch of the wall or fence
- Phone camera (shoot from the viewer’s angle, include a reference object for scale)
- Note of any existing hardware (hooks, ropes, cable anchors)
- Ceiling or overhead clearance measurement if the banner will hang
Pro Tip: *Apply the design-by-distance rule for headline legibility: roughly 1 inch of letter height per 10 feet of viewing distance. A banner read from 30 feet away needs headlines at least 3 inches tall.
What banner type should you order for each situation?
Banner type and banner size are two separate decisions, and confusing them is the most common ordering mistake. Here is how the main types break down.
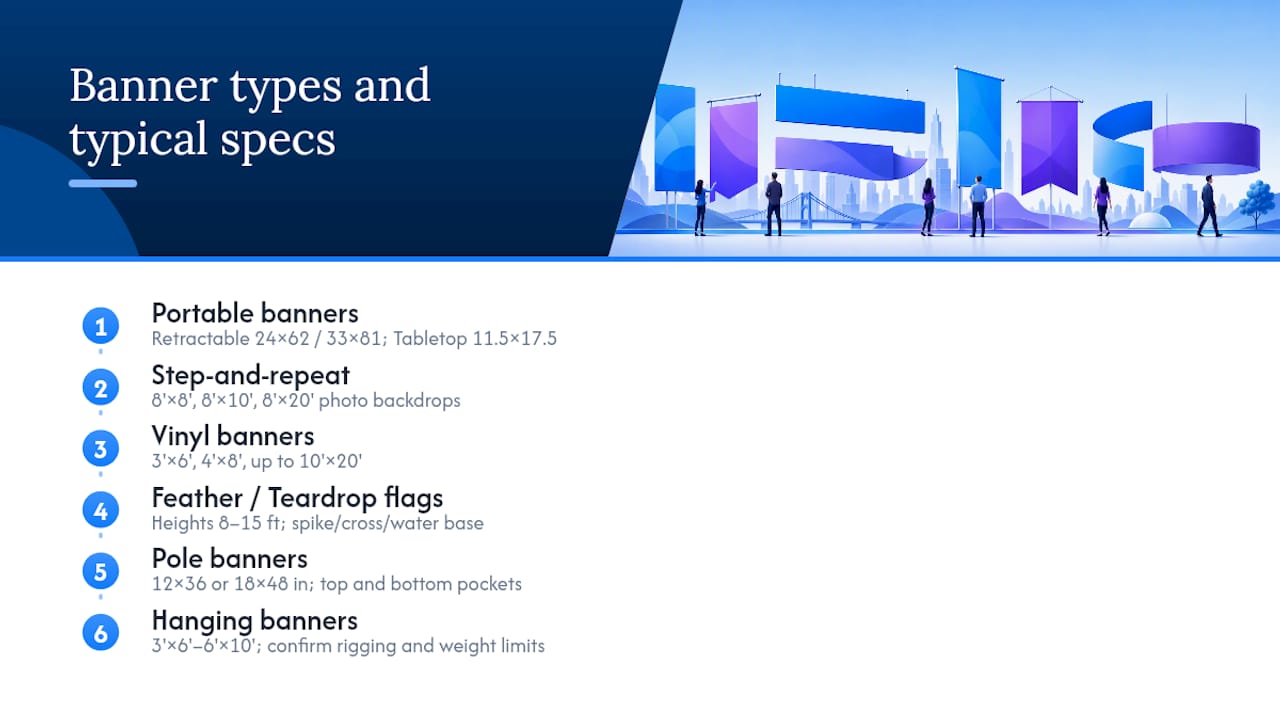
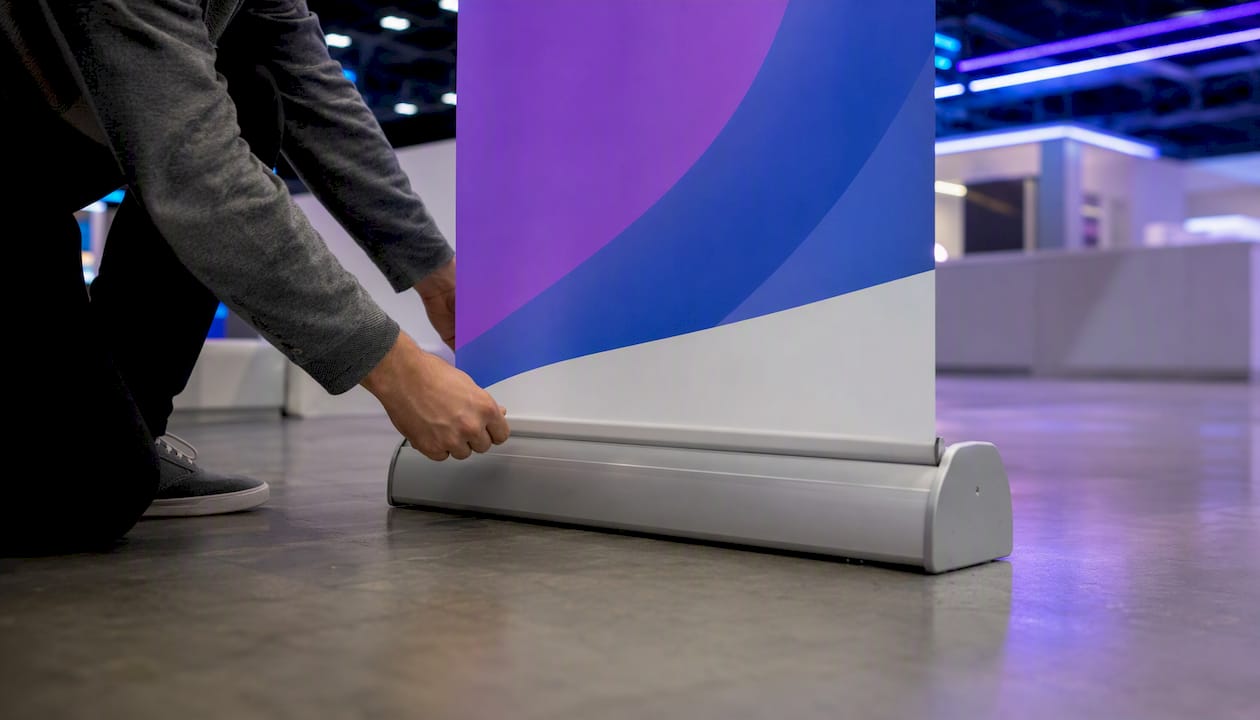
Retractable (roll-up) banners are the workhorse of trade-show and conference marketing. Standard sizes run 24×62 in for compact setups and 33×81 in for full-height displays. The cassette mechanism means they set up in under a minute and pack into a carry bag, which matters when you’re moving between venues. The trade-off is that retractable banners are almost always vertical, so they don’t work for wide backwall applications.
Step-and-repeat backdrops are the right call for press events, brand activations, and red-carpet photo ops. The most common sizes are 8’×8’, 8’×10’, and 8’×20’. The repeating logo grid is designed so that any crop of a photo includes at least one full logo — a practical detail that gets overlooked until the event photos come back with logos cut in half.
Vinyl banners (flat, hemmed) cover the widest range of applications. A 3’×6’ handles most indoor and light outdoor needs. A 4’×8’ is the standard for fence lines and construction sites. For building-wrap or large outdoor events, sizes scale up to 10’×20’ and beyond. For vinyl scrim banner design on large outdoor installations, scrim vinyl (a woven mesh core laminated between two vinyl layers) holds up better than solid vinyl in wind.
Feather flags and teardrop flags work well for outdoor retail, car lots, and street-level events where you need height and motion to catch attention. Typical heights run 8–15 ft. They require a ground spike, cross base, or water-weight base depending on the surface.
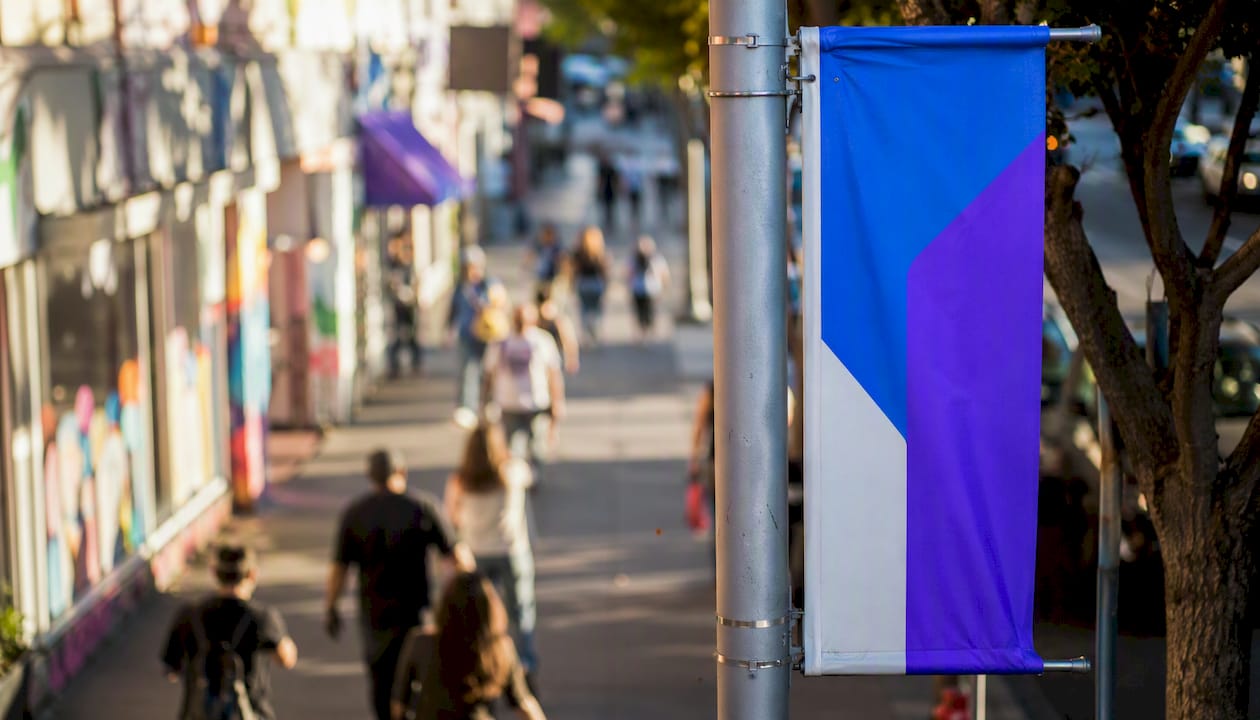
Pole banners are the standard for streetscapes, campus walkways, and parking lots. They mount on existing poles using top and bottom pole pockets and typically run 12×36 in or 18×48 in. The narrow vertical format forces tight copy discipline — three to five words per line, maximum.
Hanging banners suspend from ceiling rigging in convention halls and arenas. Sizes vary widely (common: 3’×6’, 4’×8’, 6’×10’), and they require a structural rigging plan. Always confirm weight limits and rigging attachment points with the venue before ordering.
Tabletop banners are the smallest category: 11.5×17.5 in is the standard. They sit in a lightweight stand at registration tables, reception desks, or retail counters. At that size, the viewing distance is under 6 feet, so you can use smaller type — but keep the message to one headline and one supporting line.
What materials, finishes, and hardware do you need?
Material choice is where most first-time buyers leave money on the table. The wrong substrate for the environment means a banner that fades, tears, or flaps itself to pieces within a season.
Common banner materials
- Scrim vinyl (13 oz): The default for most outdoor and indoor vinyl banners. Durable, water-resistant, and takes ink well. Good for storefronts, fences, and trade-show backwalls.
- Mesh vinyl: Perforated to let wind pass through. The right call for fence banners, construction sites, and any outdoor installation with significant wind exposure. Reduces wind load by roughly half compared to solid vinyl.
- Blockout vinyl: An opaque substrate with a black core that prevents light bleed-through. Use it for double-sided banners or backlit applications where you don’t want the reverse image showing through.
- Fabric (dye-sublimation): Lighter and more packable than vinyl. Produces vivid color with no glare, which makes it ideal for indoor trade-show displays, tension fabric frames, and step-and-repeat backdrops. Fabric banners wrinkle less than vinyl when folded.
Finishes and hardware
- Grommets: Metal eyelets punched through the banner for rope or bungee attachment. Standard spacing is every 18–24 inches along the top and bottom edges, with corner grommets always included.
- Hem and webbing: A folded and stitched edge reinforces the perimeter and prevents tearing at attachment points. Webbing (a sewn-in nylon strap) adds extra strength for large or heavy banners.
- Pole pockets: A sewn sleeve along the top (and sometimes bottom) edge that slides over a pole. Specify the pole diameter when ordering so the pocket is sized correctly.
- Wind slits: Horizontal cuts across the face of a solid vinyl banner that reduce wind resistance. Standard for large outdoor banners in exposed locations.
- Lamination: A clear protective film applied over the printed surface. Gloss lamination intensifies color; matte reduces glare. Both extend outdoor life.
- Silicone edge graphics (SEG): A fabric graphic with a silicone bead sewn into the perimeter that snaps into an aluminum extrusion frame. The cleanest finish for trade-show displays and retail environments.
Pro Tip: For fence installations on chain-link panels, specify mesh vinyl and request wind slits every 18–24 inches. Confirm grommet reinforcement points every 12–18 inches along all edges — that spacing is what prevents tear-out in sustained wind. A large-format vinyl scrim banner with reinforced grommets will outlast a standard hemmed banner by a full season in exposed outdoor conditions.
What file specs does your printer need?
Getting the file right the first time eliminates the most common source of production delays. Large-format printing has different rules than desktop printing, and the DPI math trips up even experienced designers.
DPI guidance for large-format
Large-format printers rasterize artwork at the final print size. A banner viewed from 10 feet away doesn’t need 300 DPI — it needs enough resolution to look sharp at viewing distance, which is typically 100–150 DPI at final print dimensions. For banners larger than 8 feet wide, 100 DPI at full size is acceptable and keeps file sizes manageable. For close-up displays (tabletop, retractable banners viewed under 6 feet), 200–300 DPI at final size is worth the larger file. For DPI and raster considerations in large-format output, the same principle applies: resolution is always relative to viewing distance, not an absolute number.
Bleed and safe zone
- Bleed: Add at least 0.5 in (1.27 cm) on all four sides beyond the finished banner dimensions. For banners larger than 4’×8’, increase bleed to 1 in.
- Safe zone: Keep all logos, headlines, and CTAs at least 3–4 inches inside the finished edge. Hardware, grommets, and pole pockets will cover the outer margin.
Color mode and file formats
| Spec | Requirement | Notes |
|---|---|---|
| Color mode | CMYK | Never submit RGB files — colors shift at output |
| Preferred format | PDF/X-1a or flattened TIFF | Embed all images and outline all fonts |
| Acceptable format | High-res PDF (press quality) | Confirm with printer before sending |
| Resolution | 100–150 DPI at final size | 200–300 DPI for close-view displays |
| Bleed | 0.5–1 in on all sides | 1 in for banners over 4’×8’ |
| Font handling | Outline all fonts | Eliminates font-substitution errors |
| Pantone callouts | Include if brand colors are critical | Printer converts to CMYK process |
For digital display ads, Google Ads supports GIF, JPG, and PNG formats with a typical 150 KB file-size limit for uploaded display ads. The IAB fixed-size ad specs provide k-weight limits and fixed unit sizes for planning responsive and pixel-precise creatives. For social banners, platform safe-zone guidance matters: YouTube channel art, for example, uses a 2560×1440 px canvas but only guarantees a 1235×338 px safe area across all devices — keep logos and text inside that center zone.
Print-ready file checklist
- Artwork built at 100% of final print dimensions (not scaled down)
- Color mode set to CMYK throughout
- All fonts outlined or converted to paths
- All linked images embedded at correct resolution
- Bleed added on all four sides (minimum 0.5 in)
- Crop marks included (offset at least 0.125 in from bleed edge)
- Pantone colors called out in a separate note if brand accuracy is critical
- File saved as PDF/X-1a or flattened TIFF
For additional print file best practices that apply equally to large-format output, the same rules around embedding, color mode, and font handling hold across print disciplines.
What do U.S. banner production timelines and costs look like?
Lead time and budget vary more than most buyers expect. Here is a realistic picture for U.S. production in 2026.
Typical production timelines
- Same-day proofing: Most printers can return a digital proof within 2–4 hours if artwork arrives print-ready before noon.
- Standard production (small run, 1–5 banners): 1–3 business days after proof approval.
- Larger or custom jobs (10+ banners, specialty materials, finishing): 3–7 business days.
- Rush/expedited: Many U.S. large-format shops offer next-day or 2-day production for a surcharge, typically 25–50% above standard pricing.
- Shipping: Add 1–5 business days for ground shipping, or 1–2 days for overnight. For events, order at least 10 business days out to absorb any revision cycle.
Ballpark cost ranges (U.S. market)
Prices vary by printer, material, and quantity. These are realistic retail ranges, not quotes:
- Tabletop banner (11.5×17.5 in with stand): $40–$80
- Retractable banner (33×81 in with hardware): $80–$200
- Standard vinyl banner (3’×6’): $30–$80
- Large vinyl banner (4’×8’): $60–$150
- Fence banner (4’×8’, mesh): $70–$160
- Step-and-repeat backdrop (8’×10’, fabric): $200–$500
- Trade-show backwall (8’×20’, tension fabric): $400–$1,200
Factors that push costs up: rush production, specialty inks (white ink on dark substrates), lamination, custom finishing (SEG, webbing), and non-standard sizes that require custom cutting.
Questions to ask your vendor before ordering
- What is the production time after proof approval, not after order placement?
- Is the digital proof included, or is there a setup fee?
- What finishing options are included in the base price (grommets, hem, pole pockets)?
- Are there additional fees for large files or color matching?
- What is the shipping method and estimated delivery date?
How do you measure and prepare for installation?
Ordering the right size is half the job. Installing it without surprises is the other half.
On-site measurement steps
- Measure width at the widest point of the installation area, then measure again 12 inches lower. Walls and fences are rarely perfectly square.
- Measure visible height from the lowest acceptable mounting point to the highest, then subtract clearance for hardware.
- Locate anchor points. Mark where grommets, hooks, or pole brackets will attach. Confirm the surface material (concrete, chain-link, wood, drywall) so you can specify the right fastener.
- Check overhead clearance. For hanging banners, measure from the floor to the rigging point and confirm the venue’s weight limit.
- Note obstructions. Sprinkler heads, HVAC vents, electrical conduit, and signage all affect usable banner area.
- Photograph everything. Shoot from the viewer’s perspective, include a tape measure in frame, and capture the mounting hardware locations.
What to send your printer
- Final width and height in inches (finished size, not including bleed)
- Mounting method (grommets, pole pockets, hem only, SEG)
- Grommet spacing preference (standard: every 18–24 in)
- Whether wind slits are needed and their preferred spacing
- Material preference (vinyl, mesh, fabric)
- Installation environment (indoor, outdoor, fence, hanging)
- Event date (so the printer can flag any lead-time risk)
Pro Tip: For custom large-format designs on irregular shapes or sponsor panels, send a dimensioned sketch or CAD file alongside your artwork. It eliminates the most common source of sizing errors on non-standard installations.
What Tekton LA has learned from production that saves you rework
The most expensive banner mistake isn’t the wrong size. It’s submitting an RGB file with embedded fonts and expecting the printer to fix it.
A few things worth knowing before you submit:
- Order a physical sample before a large run. For step-and-repeat backdrops and trade-show backwalls, a single-panel proof at actual size catches color and resolution issues that a monitor proof never will.
- Eco-friendly materials are available and practical. Tekton LA sources locally where possible and offers fabric options that reduce waste compared to single-use vinyl. For indoor trade-show displays that get reused across multiple events, fabric tension graphics are both the greener and the more cost-effective choice over a two-year horizon.
- Rush jobs are manageable with the right file. A print-ready file submitted before noon can often turn around same-day or next-day. A file that needs color conversion, font outlining, and bleed addition adds hours to every step. The fastest path to a rush banner is a clean file, not a faster printer.
- Limit text to 3–5 lines and 3–5 words per line on large vinyl banners. That’s the legibility standard for banners read at distance, and it’s the single most common design note Tekton LA sends back to clients on first-draft artwork.
For event organizers pairing banners with branded apparel, a cohesive event branding strategy that matches banner colors to staff uniforms and promotional items consistently outperforms a piecemeal approach. Tekton LA handles both sides of that equation from one location in Downtown Los Angeles.
Fast custom banners and event branding from Tekton LA
Tekton LA produces custom banners and branded event materials from Downtown Los Angeles with fast turnaround and no-minimum-order requirements on most items. Upload print-ready artwork and receive a digital proof the same day. For clients who need help with file prep, the team handles color conversion, font outlining, and bleed setup so production doesn’t stall.

Services include custom banner sizes in vinyl, mesh, and fabric; full finishing options (grommets, hems, pole pockets, wind slits, lamination); eco-friendly material choices; and complete event branding packages that pair banners with custom-printed apparel and promotional items. Whether you need a single retractable banner for a conference or a full 8’×20’ trade-show backwall, Tektonla and get a proof back fast.
Sources
These references cover both physical large-format standards and digital ad specifications:
- Signs
- Banner Ad Sizes: The Complete Reference (2026)
- The exact cover photo and header image dimensions for every major platform - plus safe zone tips
- IAB Fixed Size Ad Specs (as of 2022)