


Getting custom-printed water bottles is a four-step process: pick a bottle material that matches your budget and brand tier, choose a print method suited to that material and your artwork, prepare a print-ready file, then request a proof before committing to full production. For branding and promotional orders, Tektonla is the recommended supplier, handling everything from small pilot runs to full campaign volumes. Two free tools make the design stage painless before you ever contact a printer:
- PlayBottle for 3D mockups on curved surfaces
- Canva for quick, presentation-ready previews
- Vector artwork or 300 dpi raster files, prepped before you upload anything
Pro Tip: Build your mockup in PlayBottle or Canva before you request a quote. It catches placement problems that are expensive to fix once ink hits metal.
Key Takeaways
The material and print method you choose together determine cost, durability, and how premium your bottle feels to the person holding it.
| Point | Details |
|---|---|
| Match method to material | Screen printing suits plastic, engraving and sublimation suit stainless steel and aluminum. |
| Prepare files correctly | Use vector for logos, 300 dpi raster for photos, and CMYK color mode throughout. |
| Mock up before ordering | Preview designs in PlayBottle or Canva to catch curved-surface placement issues early. |
| Request a proof or sample | Always confirm color, finish, and durability before committing to a full production run. |
| Choose a no-minimum partner | Tektonla offers no-minimum bottle printing with eco-conscious sourcing and integrated proofing support. |
Table of Contents
- Which Water Bottle Printing Methods Should You Use?
- What Bottle Material and Style Should You Choose?
- How Do You Prepare Artwork Files for Bottle Printing?
- What Do Water Bottles Cost, and What Are the Minimums?
- What’s the Ordering Process, and What Should You Ask First?
- How Tektonla Handles Water Bottle Printing Orders
- A Printer’s Take on What Actually Moves the Needle
- Sources
Which Water Bottle Printing Methods Should You Use?
The print method you choose determines cost, durability, and how much design detail survives production. Here’s the rundown:
- Screen printing: best for one to three flat colors, high volume, and simple logos. Cheap per unit once you clear setup costs, but it struggles with gradients and photographic detail.
- Pad printing: handles curved or irregular surfaces (think caps and small logo zones) better than screen printing, though it’s typically limited to smaller imprint areas.
- Dye sublimation: bonds ink into the material itself, making it the go-to for full-color, photo-quality, or full-wrap designs, but it generally requires a polymer coating and works best on metal or coated surfaces.
- UV/direct-to-object printing: cures ink instantly with UV light directly onto the bottle surface, supporting fine detail and small-batch full-color work without the setup burden of screen printing.
- Laser engraving: etches rather than inks, producing a permanent, single-tone mark that reads as premium on stainless steel and aluminum.
Material narrows your options fast: stainless steel and aluminum pair well with engraving or sublimation, plastic works with screen or pad printing, and glass typically limits you to UV printing or vinyl decals. As one industry comparison of digital versus offset printing notes, digital methods suit small runs and complex color, while traditional setup-heavy methods pay off only at volume, a principle that carries over directly to bottle printing.
Pro Tip: If brand perception matters more than unit cost, choose engraving on metal or full-wrap sublimation over screen printing on plastic. The material change alone shifts how a logo reads to the recipient.
What Bottle Material and Style Should You Choose?
The base product shapes how your branding lands before anyone reads the logo. Plastic bottles work for mass giveaways, conference bags, and one-time event swag where cost per unit matters more than longevity. Stainless steel insulated bottles read as a premium corporate gift, the kind employees actually keep on their desk for years. Aluminum splits the difference: lighter than steel, still metal, and a common choice for lightweight branded merch handed out at retail activations. Glass suits retail product lines and food-safe presentation but travels poorly for bulk shipping.
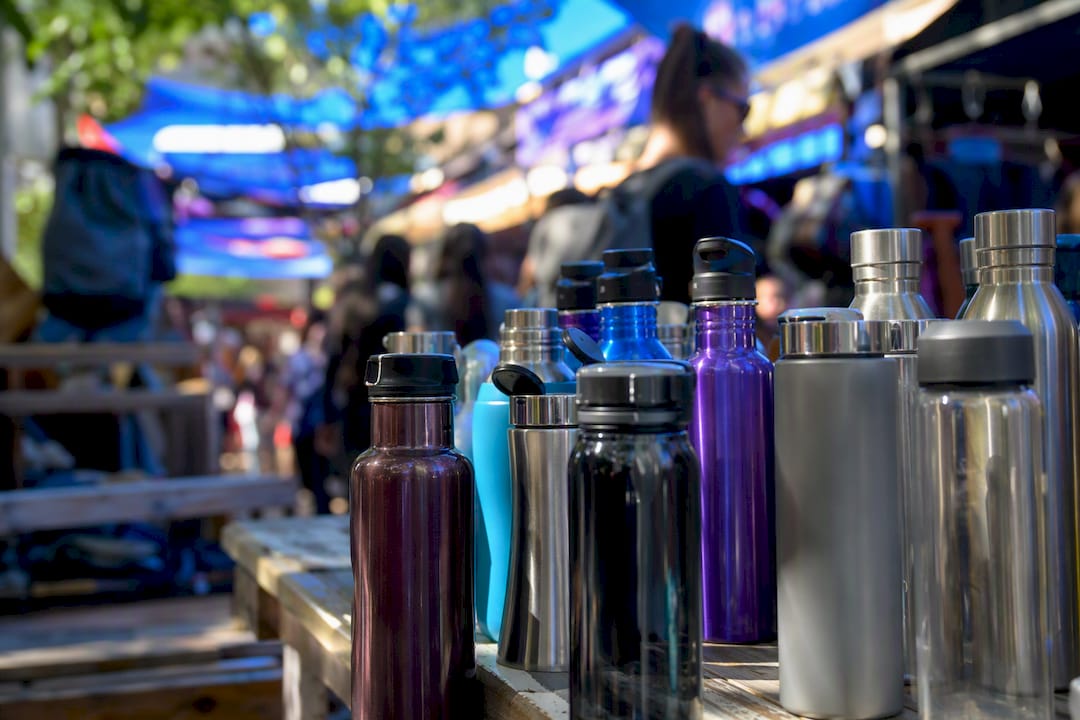
Promotional-branding professionals consistently point to metal over plastic when perceived value and eco-friendly positioning matter, since a recycled-content steel bottle signals more intention than a giveaway plastic one, even at a higher unit cost.
Match the product to the occasion:
- Event handouts: plastic or lower-cost aluminum
- Employee or client gifts: insulated stainless steel
- Retail or food-brand product lines: glass or premium aluminum
- Long-term brand ambassador programs: stainless steel with engraving
Cap style and finish matter too. A matte powder-coated finish holds sublimated color better than a glossy one, and a screw cap gives you more flat surface area for a wraparound design than a flip-top spout does.
How Do You Prepare Artwork Files for Bottle Printing?
Printers need clean files, and the format depends on your print method. Vector files (SVG or PDF) scale to any size without quality loss and are required for screen printing and engraving. Raster files (PNG, TIFF, or high-resolution JPEG) work for sublimation and UV printing, but only at 300 dpi or higher at final print size, not screen resolution.
- Choose vector for logos and text, raster for photos or complex gradients.
- Set color mode to CMYK, not RGB. Screen colors and print colors do not match, and skipping this step is the single most common cause of a rejected proof.
- Check the printer’s template for bleed and safe area before placing type near a curved edge.
- Preview your layout in PlayBottle or Canva to confirm nothing wraps awkwardly around the bottle’s curve.
Watch for three recurring problems: thin lines under roughly 0.3mm often disappear in screen printing, gradients don’t reproduce on methods limited to spot colors, and small text under 6 points blurs on curved surfaces regardless of method. These constraints line up with what private-label bottle vendors publish in their own studio specs, and they hold across most printers in the category.
What Do Water Bottles Cost, and What Are the Minimums?
Five factors drive your per-unit price: material, print method, number of colors, imprint area, and whether you’re personalizing individual units. A single-color logo on plastic costs a fraction of a full-color wraparound sublimation print on insulated steel, and adding a second or third color usually adds a flat setup fee rather than scaling per unit.
Minimum order quantities vary widely by supplier and material. Some printers require cases of 100 or more for custom runs, while others, including Tekton LA, offer no-minimum options on select blanks, which matters if you’re testing a design before committing to a full campaign.
Personalization changes the math. Bulk branding (one logo, many bottles) is cheap per unit because the setup cost spreads across the whole run. Single-name printing (a different name on every bottle) requires per-unit digital printing, which raises cost but eliminates the need for a large minimum.
A rough way to think about pricing:
- Start with the base bottle cost.
- Add a flat setup fee for the print method and color count.
- Divide setup cost across your quantity, more units mean lower per-unit setup cost.
- Add personalization cost separately if names or variable data are involved.
Lead times run anywhere from a few days to a few weeks. Some suppliers of customized bottles quote roughly 3 to 8 business days for standard customization, though proof rounds, holiday season demand, and shipping method can extend that window considerably. Ask for your delivery deadline upfront so the printer can flag conflicts before production starts, not after.
What’s the Ordering Process, and What Should You Ask First?
The order flow is straightforward once you know the sequence: select your bottle, choose a print method that fits the material and design, prepare and upload your files, request a proof or physical sample, confirm production once you approve it, then arrange shipping.
- Select the bottle (material, capacity, color).
- Choose the print method based on your design and quantity.
- Prepare files to spec (vector or 300 dpi raster, correct color mode).
- Request a digital proof, and a physical sample for large or high-stakes orders.
- Approve the proof and confirm production timeline.
- Arrange shipping with buffer time for delays.
Before you commit, ask your printer directly:
- What’s the minimum order quantity, and does it change by print method?
- What’s the realistic turnaround, including proof rounds?
- Is a physical sample available before full production, and what does it cost?
- How well do outdoor-rated inks hold up to sun and repeated washing?
- What are the wash and care instructions for this specific print method?
Red flags worth walking away from: a printer that won’t provide any proof, vague turnaround estimates with no committed date, file specs that contradict themselves between emails, or a return policy nobody can explain clearly.
How Tektonla Handles Water Bottle Printing Orders
Tektonla built its reputation on custom apparel and branding work, and that same no-minimum, fast-turnaround approach carries directly into bottle printing. You’re not locked into a case-size minimum to test a design, and Tektonla’s private-label experience means you can add woven labels or matching branding elements across an entire merchandise line, not just the bottle.

Eco-conscious sourcing runs through the whole operation, which matters if you’re leaning toward stainless steel or recycled materials for a sustainability-forward campaign. Tektonla also supports the mockup and proofing workflow directly, so a design you build in PlayBottle or Canva translates cleanly into a physical proof rather than a guessing game.
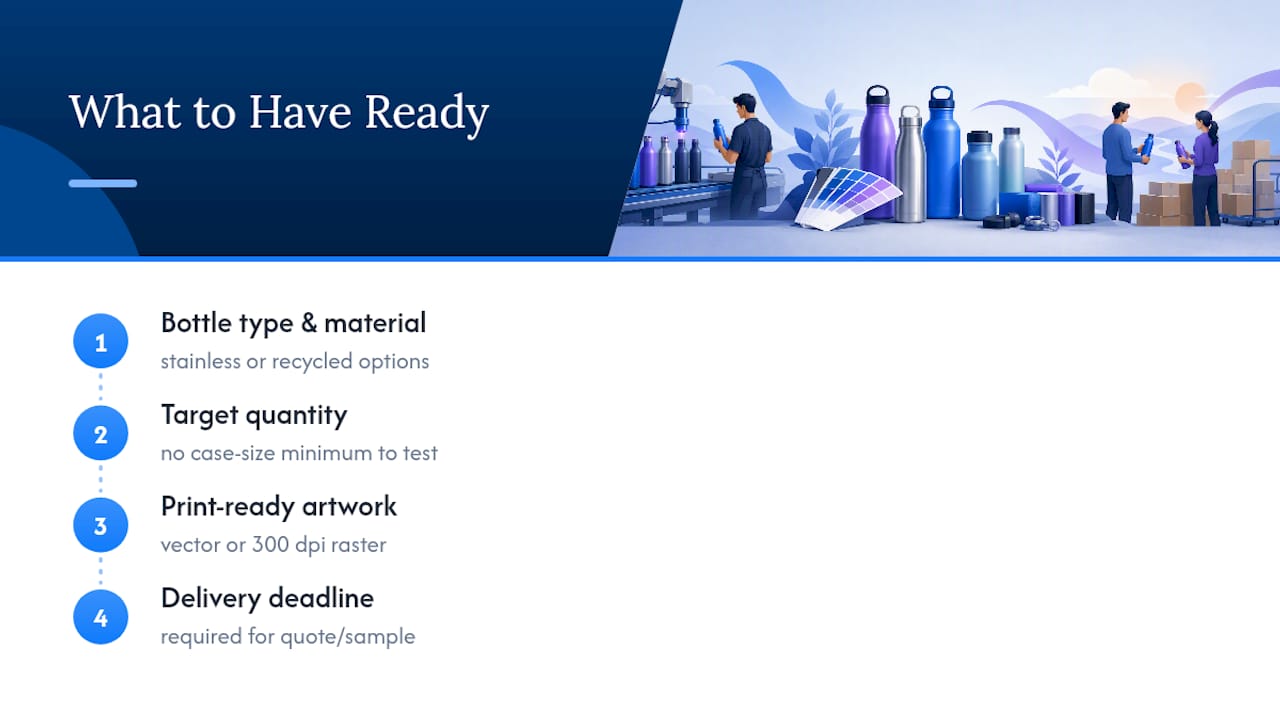
To request a quote or sample, have four things ready: your bottle type and material preference, your target quantity, a print-ready artwork file (vector or 300 dpi raster), and your delivery deadline. If you’re weighing this against a separate packaging launch, the pre-launch packaging checklist from Packwire covers timing considerations that apply just as well to a bottle rollout. Head to the Tektonla product catalog to start a quote, or upload your artwork directly for a fast turnaround estimate.
A Printer’s Take on What Actually Moves the Needle
Most of the mistakes I see in bottle branding come down to one thing: picking the print method before picking the material. Choose the base product first, then work backward to a method that suits it. Limit your palette to two or three colors unless you have a specific reason for full-color art. And always order one sample before committing to a full run. It’s the cheapest insurance in the entire process.
Sources
Use PlayBottle for 3D mockups, Canva for quick presentation previews, and Tektonla’s file-prep guide for artwork specs.
- 3D Bottle Design Tool - Create Custom Bottle Mockups | PlayBottle
- Canva — bottle mockups and design tools
- Metal vs. Plastic Drinkware: Which Is Right for Your Brand? | Successories
- Digital vs Offset Printing for Packaging: Which One is Right For Your Business? | Packwire