

An 8’×8’ backdrop is the default step and repeat size for most events, and it works for the same reason a doorway is about 7 feet tall: it fits the human body and the standard camera crop without wasted space. Go wider (8’×10’, 8’×12’, or 10’×20’) when more people need to pose together or a sponsor wants a longer press line.
The sizing math behind that default is simple. Plan on roughly 2 feet of width per person, and keep the height at 8 feet, since that’s tall enough to clear heads in a vertical phone shot without looming over a low venue ceiling. Before you order anything, take three steps:
- Measure the venue’s ceiling height and the load-in path width.
- Estimate your largest expected group photo (2 people, 6 people, a full press line?).
- Ask your photographer or videographer what crop they’ll shoot (vertical phone, full-body DSLR, red carpet wide shot).
Those three answers determine almost everything else in this guide.
Key Takeaways
The right step and repeat size comes down to matching photo crop and group count to a standard dimension, then locking in file specs before production begins.
| Point | Details |
|---|---|
| Default to 8’×8’ | It fits most venues, clears heads at 8 feet tall, and suits 1 to 4 people comfortably. |
| Apply the 2-ft rule | Budget roughly 2 feet of width per person to avoid cropping guests out of shots. |
| Size logos deliberately | Use 12 to 18 inches for single logos, 8 to 14 inches stacked, with 6 to 12 inches of spacing. |
| Match material to setting | Choose matte fabric for low-glare indoor shots and vinyl for outdoor durability. |
| Work with Tekton LA | Tektonla produces custom step and repeats locally with no minimum order and full production specs support. |
Table of Contents
- Standard Step and Repeat Sizes and What They’re Best For
- How to Choose Step and Repeat Backdrop Size by Photo Framing
- Logo Sizing and Spacing Rules Sponsors Actually Expect
- Height, Venue Constraints, and Frame Options
- Fabric vs. Vinyl: How Material Affects Your Photos
- Step and Repeat Costs and Lead Times to Expect
- Tekton LA’s Approach to Backdrop Production
- Accessibility and Safety Around Backdrop Placement
- How Lighting Changes the Way a Backdrop Photographs
- An Editorial Take on Step and Repeat Sizing
- Get Your Step and Repeat Produced Right the First Time
- Sources
Standard Step and Repeat Sizes and What They’re Best For
Five sizes cover the overwhelming majority of events, and knowing the differences between them saves you from over-ordering or under-sizing for your crowd.
- 8’×5’: A compact option for step-in-and-shoot moments with one or two people, tight lobby corners, or budget-conscious launches.
- 8’×8’: The workhorse size. It handles small group shots, individual portraits, and press interviews without dominating the room.
- 8’×10’: A comfortable middle ground for four to five people posing together, common at award shows and mid-size product launches.
- 8’×12’: Built for larger groups, wedding parties, or sponsor lineups where six or more people need to fit in frame at once.
- 10’×20’ (hero wall): Reserved for press events, movie premieres, and step-and-repeat lines where multiple photographers shoot simultaneously from different angles.
These five options aren’t arbitrary. Standard step-and-repeat sizes cluster around 8 feet tall specifically because that height suits most banquet halls and hotel ballrooms without special rigging.
Custom widths make sense in narrower situations: an oddly shaped alcove, a branded hero wall meant to double as a stage backdrop, or a venue with structural columns that break up a standard footprint. Outside those cases, sticking to a common size keeps your rental or purchase compatible with standard frame kits, which matters more than it sounds. A step and repeat sizing guide built around standard dimensions means you can rent a replacement frame on short notice almost anywhere, something a custom size can’t promise.
Orientation matters for logistics too. An 8’×12’ backdrop rolls into a longer transport tube than an 8’×8’, and a 10’×20’ hero wall usually ships in sections that need reassembly on-site, adding staging time your event schedule should account for.
How to Choose Step and Repeat Backdrop Size by Photo Framing
Photographers don’t shoot the whole wall. They shoot a window into it, and that window is smaller than most planners expect. A smartphone held at typical portrait distance captures roughly a 4-foot by 6-foot vertical frame, which means anything outside that crop simply isn’t in the photo people actually share on social media. Size your backdrop for that crop, not for the wall space you have available.
Group size drives the rest of the decision using the 2-foot-per-person rule:
- 1 to 2 people: An 8’×5’ or 8’×8’ backdrop gives comfortable breathing room.
- 3 to 5 people: Step up to 8’×8’ or 8’×10’ so nobody gets cropped at the edges.
- 6 or more people: An 8’×12’ or wider hero wall keeps the whole group and the logo pattern behind them in frame.
Press lines and red carpets need a different calculation entirely. Multiple photographers often shoot from spread-out positions simultaneously, so width matters more than height here, which is why events with heavy media coverage lean toward 10’×20’ hero walls even when the guest count on the carpet itself stays modest. Seated interview setups, on the other hand, can sometimes drop to a shorter height if the backdrop only needs to fill the frame behind a chair.
Pro Tip: Stand where your photographer plans to shoot before finalizing size. A quick test shot on a phone reveals exactly how much backdrop will show, and it’s the cheapest sizing mistake you’ll ever prevent.
Logo Sizing and Spacing Rules Sponsors Actually Expect
Sponsors judge a step and repeat by one metric: how many times their logo shows up clearly in the photos that circulate afterward. Getting the repeat math right is what separates a backdrop that earns its budget from one that just looks busy.
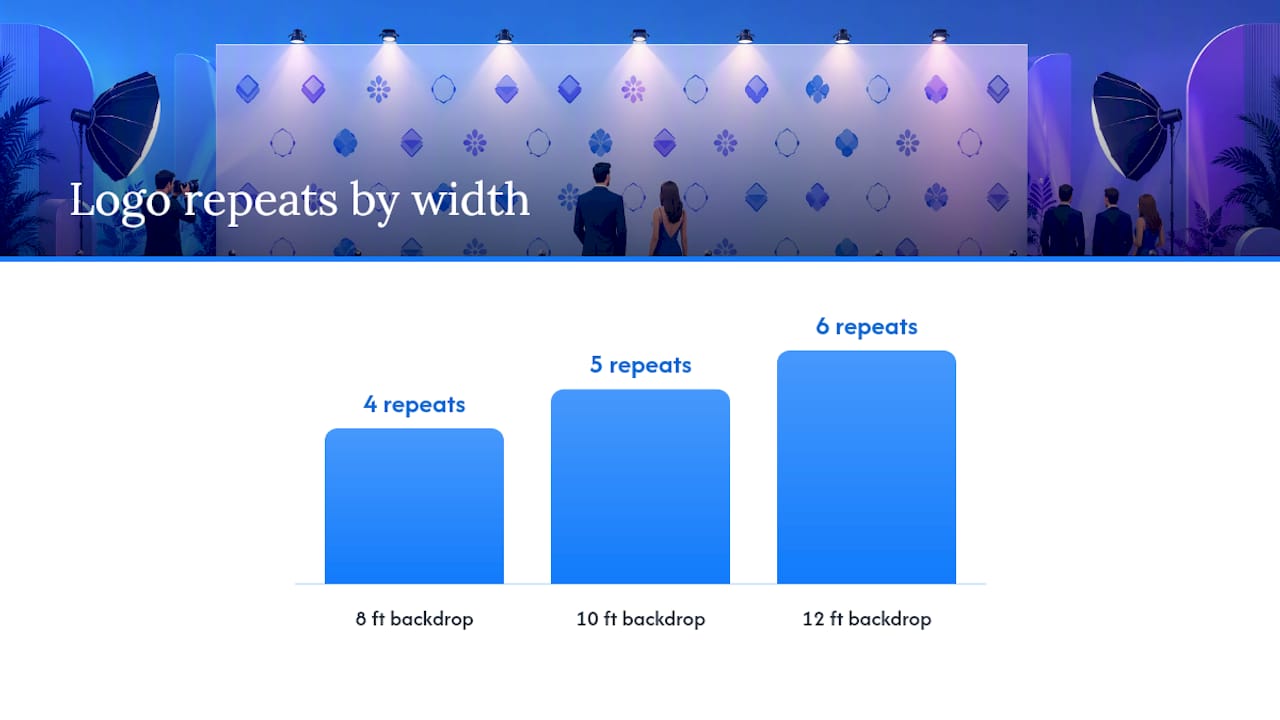
For single-brand backdrops, size logos between 12 and 18 inches wide. When you’re stacking multiple sponsor logos, scale down to 8 to 14 inches so the pattern doesn’t feel cramped. Horizontal spacing between logos should run 6 to 12 inches, giving each mark visual breathing room without wasting print real estate.
A few layout habits keep the design functional under real event lighting:
- Stagger rows with roughly a 50% offset so no vertical seam of blank space runs down the design.
- Keep logos at least 6 inches from the bottom edge, since that zone often gets blocked by heads or shoulders in a standing shot.
- Design so at least two full logo impressions land inside a typical vertical phone crop, which is the exposure sponsors are actually paying for according to analysis of branded photo walls.
Here’s how repeat counts shake out at three common widths, using a 14-inch logo with 8 inches of horizontal spacing (22 inches per repeat cycle):
| Backdrop Width | Approximate Logo Repeats |
|---|---|
| 8 feet | 4 full repeats |
| 10 feet | 5 full repeats |
| 12 feet | 6 full repeats |
Adjust the math if your sponsor mix uses a different logo width or spacing preference, but the ratio holds: wider backdrops buy you more brand impressions per photo, not just more physical wall.
Height, Venue Constraints, and Frame Options
Standard step-and-repeat backdrops are typically about eight feet tall to clear most adults’ heads and fit under typical ceiling heights without special rigging. You only need to go taller, 10 feet or more, for large stage backdrops or hero walls meant to be visible from across a big room.
Frame systems change your setup timeline and final look more than most planners expect:
- Pipe-and-drape: Fast to assemble, budget-friendly, but the fabric can wrinkle or sag without careful tensioning.
- Tension fabric kits: Wrinkle-resistant, reusable, and a common choice for step and repeat frame systems that need to travel between events.
- Hard-frame walls: Heaviest and slowest to install, but they deliver the flattest, most polished finish for high-profile press coverage.
Pro Tip: Before booking any frame system, confirm your venue’s door widths and load-in path. A hard-frame wall that won’t fit through a service entrance is a problem you discover too late if you skip the site visit.
Walk the site with door widths, ceiling height, floor footprint, and available power for lighting all on your checklist, and you’ll avoid the most common day-of surprises.
Fabric vs. Vinyl: How Material Affects Your Photos
Matte fabric diffuses camera flash instead of bouncing it back, which is why fabric Brands recommend it over glossy alternatives for anything shot indoors under flash photography. When properly tensioned on a frame, fabric also resists the wrinkling that plagues loosely hung vinyl banners.
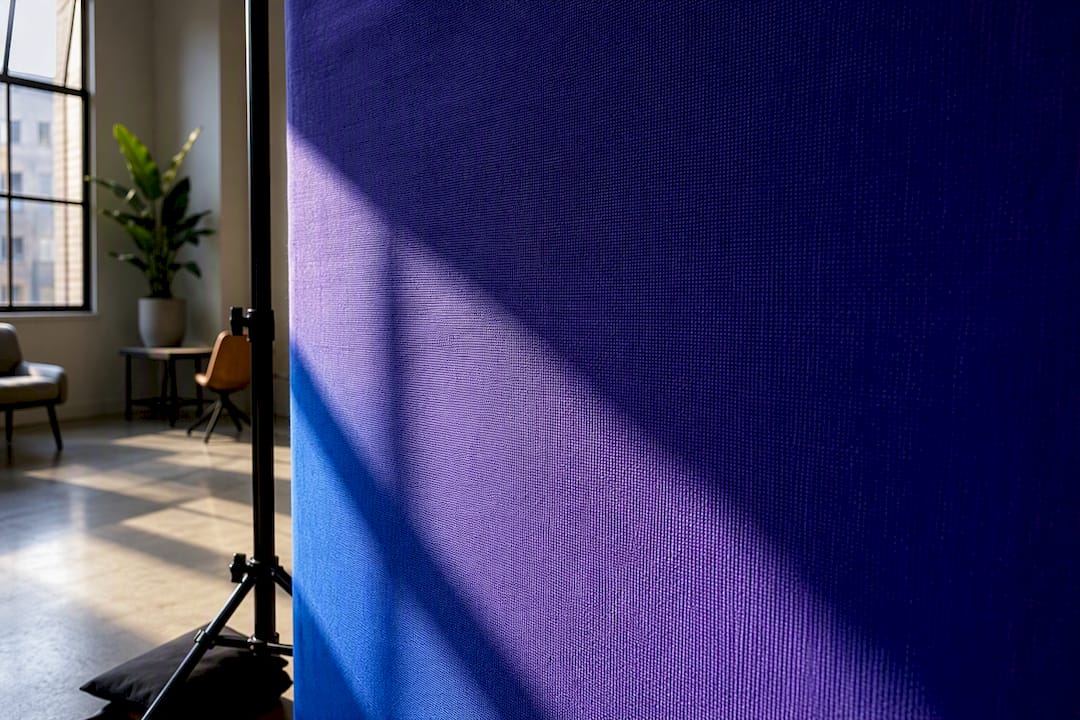
Vinyl earns its place outdoors. It handles wind, rain, and repeated setup and teardown better than fabric, making it the practical choice for outdoor activations even though it reflects more light in flash photos.
Edge treatment affects how clean your logos look at the borders. Grommets work for pipe-and-drape but can pucker the fabric near the edge; pole pockets keep a smoother line; stretch frames deliver the tightest, most wrinkle-free finish overall. Whichever material you choose, keep the surface out of direct hot lighting before the event starts, since fabric that sits folded in a case tends to hold creases that show up as shadows in photos. A quick steam or a properly tensioned frame solves most of that on-site.
Step and Repeat Costs and Lead Times to Expect
Budget varies more by frame type and reusability than by fabric alone. Rental kits for a standard 8’×8’ typically run cheapest since the frame is shared across many events, while a reusable tension fabric kit costs more upfront but pays off across repeat use. Hard-frame hero walls sit at the top of the price range because of the labor and materials involved in a flat, professional finish.
Lead time follows a predictable pattern:
- Standard sizes (8’×8’, 8’×10’) in common frame types: shortest turnaround, often available for rush orders.
- Custom widths or hero wall dimensions: longer production time since panels need custom cutting and sometimes hand-finishing.
- Expedited production: possible for most standard sizes but usually carries a rush fee.
The biggest cost drivers are material choice, finish quality, whether you need install labor on-site, shipping distance, and how many times you plan to reuse the piece. A size-to-frame guide that matches your size to the right frame system upfront avoids paying twice for the wrong setup.
Tekton LA’s Approach to Backdrop Production
Getting from a size decision to a print-ready file is where a lot of events lose time. Tektonla works with event organizers and brands across Downtown Los Angeles to produce custom banners alongside its broader printing services, using locally sourced materials and no minimum order requirements on many product lines.
Before sending your file to any vendor, confirm these specs in your brief:
- Final dimensions in exact feet and inches, matching your chosen frame size.
- File resolution at 150 to 300 DPI for a sharp print at full scale.
- Color mode set to CMYK, not RGB, so printed colors match your brand palette.
- Vector logo files with a defined safe area, keeping type and marks clear of trim edges.
- Mounting instructions specifying grommets, pole pockets, or a stretch frame.
Three questions worth asking any vendor before you commit: What frame types do you support for this size? How is the piece packaged for shipping and storage? And does the quote include on-site install, or is that a separate labor charge?
Accessibility and Safety Around Backdrop Placement
A backdrop that looks great in photos can still create a hazard if placement gets overlooked. Base plates, sandbags, and frame feet for tension fabric or hard-frame walls need to sit flush against the floor with no protruding edges in a walkway, since that’s exactly where guests queue up to take photos.
Leave enough clearance around the backdrop for a wheelchair or stroller to approach and turn without squeezing past a crowd. A general guideline planners use is at least 4 to 5 feet of open floor space in front of the step and repeat, separate from the line of people waiting their turn. That buffer also keeps the photographer’s working distance clear, which matters for the framing decisions covered earlier.
Anchor points matter more indoors than most planners realize. Cables running to portable lighting rigs near the backdrop should be taped down or routed overhead, never left loose across a floor path. If the venue has any height restriction near sprinkler heads or low beams, confirm your frame’s top rail clears it before install day, not during setup when adjustments cost time you don’t have.
Weighting matters outdoors too. A tension fabric or hard-frame wall acts like a sail in wind, and any outdoor placement needs extra ballast or stake-down hardware beyond what an indoor event requires.
How Lighting Changes the Way a Backdrop Photographs
The same 8’×10’ backdrop can look flat under one lighting setup and vivid under another, and size interacts with lighting more than planners expect. Wider backdrops need more even light coverage across their surface, or you end up with a bright center and dim edges that show clearly once sponsor logos near the borders get lost in shadow.
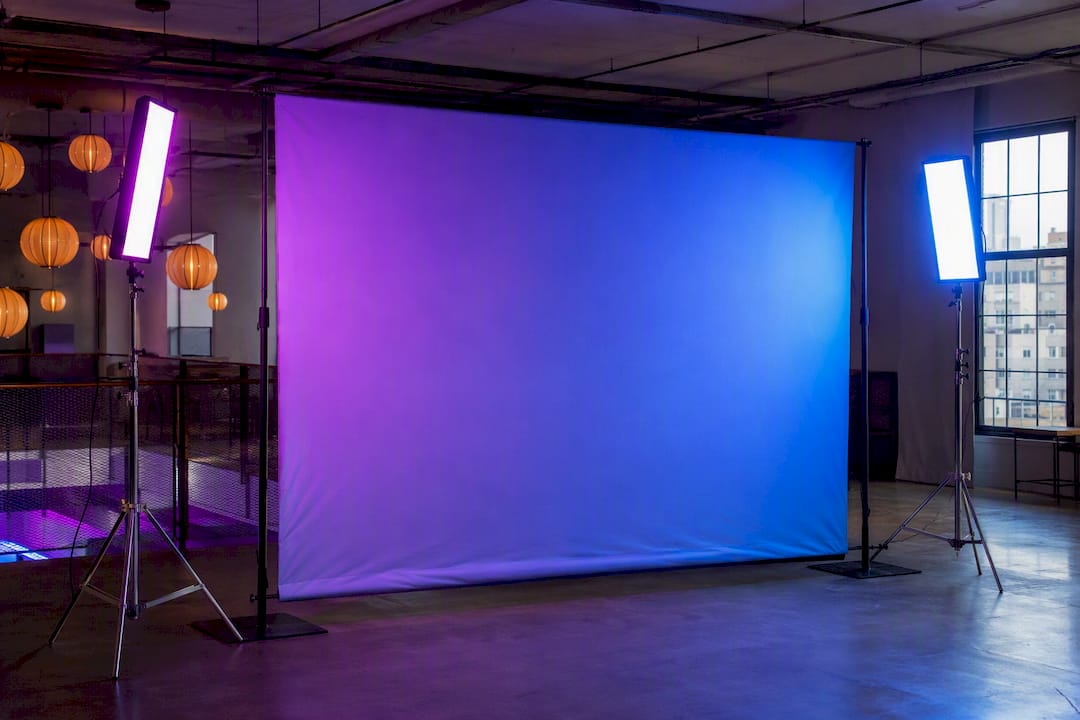
Direct on-camera flash tends to wash out a glossy vinyl surface, creating a visible hotspot right where most guests stand for photos. Matte fabric handles that same flash more gracefully, spreading the light instead of bouncing it back into the lens. If your event uses vinyl for outdoor durability, position supplemental lighting at an angle rather than straight on to reduce glare.
Taller and wider backdrops, particularly 10’×20’ hero walls, often need two or more light sources positioned symmetrically to avoid uneven falloff toward the edges. A single light source works fine for an 8’×8’, since the smaller surface stays within one light’s even coverage zone.
Ambient venue lighting matters just as much as anything you bring in. A ballroom with warm overhead lighting will shift your printed colors slightly warmer in photos, so if color accuracy matters for brand compliance, a quick white-balance check with your photographer before doors open catches problems before hundreds of photos need correcting.
An Editorial Take on Step and Repeat Sizing
Most sizing advice treats step and repeats like wallpaper: cover the space, done. That’s backwards. The wall exists to appear in photos, so the camera’s crop should drive the size decision before venue space ever enters the conversation. An 8’×12’ backdrop crammed into a room with terrible lighting photographs worse than a well-lit 8’×8’.
The conventional 2-foot-per-person rule is solid, but it’s incomplete on its own. It tells you how many bodies fit, not whether the photo will look good once they’re standing there. Pair that math with the crop question, and with material and lighting decisions, and you get a backdrop that actually performs rather than one that just fits.
If there’s one thing planners underprioritize, it’s the production brief. A gorgeous design at the wrong DPI or in RGB instead of CMYK arrives looking washed out, and by then it’s too late to fix before the event. Get the size right, then get the file right. Both matter equally.
— Christian
Get Your Step and Repeat Produced Right the First Time
Tektonla is the direct route to a production-ready backdrop instead of a back-and-forth with a print shop that doesn’t understand event branding. Working out of Downtown Los Angeles, Tektonla handles custom banners alongside its full printing lineup, DTG, DTF, screen printing, and embroidery, with no minimum order requirements holding up your timeline.

That matters because most events need more than just the backdrop. Sponsor lineups often want matching branded apparel for staff or talent, and coordinating both through one vendor avoids color mismatches between your backdrop’s CMYK print and a garment run ordered somewhere else. Whether you’re finalizing a step and repeat brief or pairing it with branded apparel for your event staff, Tektonla’s local production means faster turnaround than shipping a job across the country.
Start by visiting Tektonla to share your backdrop dimensions, timeline, and any sponsor logo requirements. A team that understands event branding specs can quote your project and flag file issues before they become a day-of problem.
Sources
- Step-and-Repeat Banner Sizes: A Complete Guide for Branded Photo Walls – Event Fab
- Guide to Step-and-Repeat Banner Sizes | PrintPlace
- Stepandrepeat
- Step and Repeat Banners: The Ultimate Guide - SpeedPro Long Island City